By: Tom Regis, NFI Certified Master Hearth Professional
Last Updated: December 26, 2025
Chimney caps are more than just decorative accents for your roof; they’re also important safety features that prolong the life of your fireplace, prevent damage to your chimney, and keep hazards out of your home.
Chimney caps are protective coverings that sit on top of your chimney crown. They're available in various styles to match your house and are typically made of metal, steel, or copper.
Wire mesh surrounds the sides to keep curious critters from seeking refuge in your chimney while keeping rain, snow, and debris, like leaves and sticks, out.
Besides preventing critters and debris from accumulating in your chimney and damaging the flue, liner, and dampers, chimney caps also protect against potential fires by blocking sparks from floating up and out of your chimney and onto the roof.
Covering your chimney is a must and measuring for the correct cap size is crucial for getting the best fit and protection for your fireplace.
To make this process easier, we’ve put together a guide that outlines all the measurements you'll need to choose the right cap for your chimney and get it installed properly!
Gather Your Supplies
Make sure you have a sturdy ladder that extends a few feet above your roof, so you can climb to the top of it safely.
Grab a pair of work gloves, a power drill or screwdriver, a tape measure, a pencil, and a piece of paper.
We recommend measuring everything at least twice to guarantee all of your numbers are accurate.
Determine Your Fuel Type
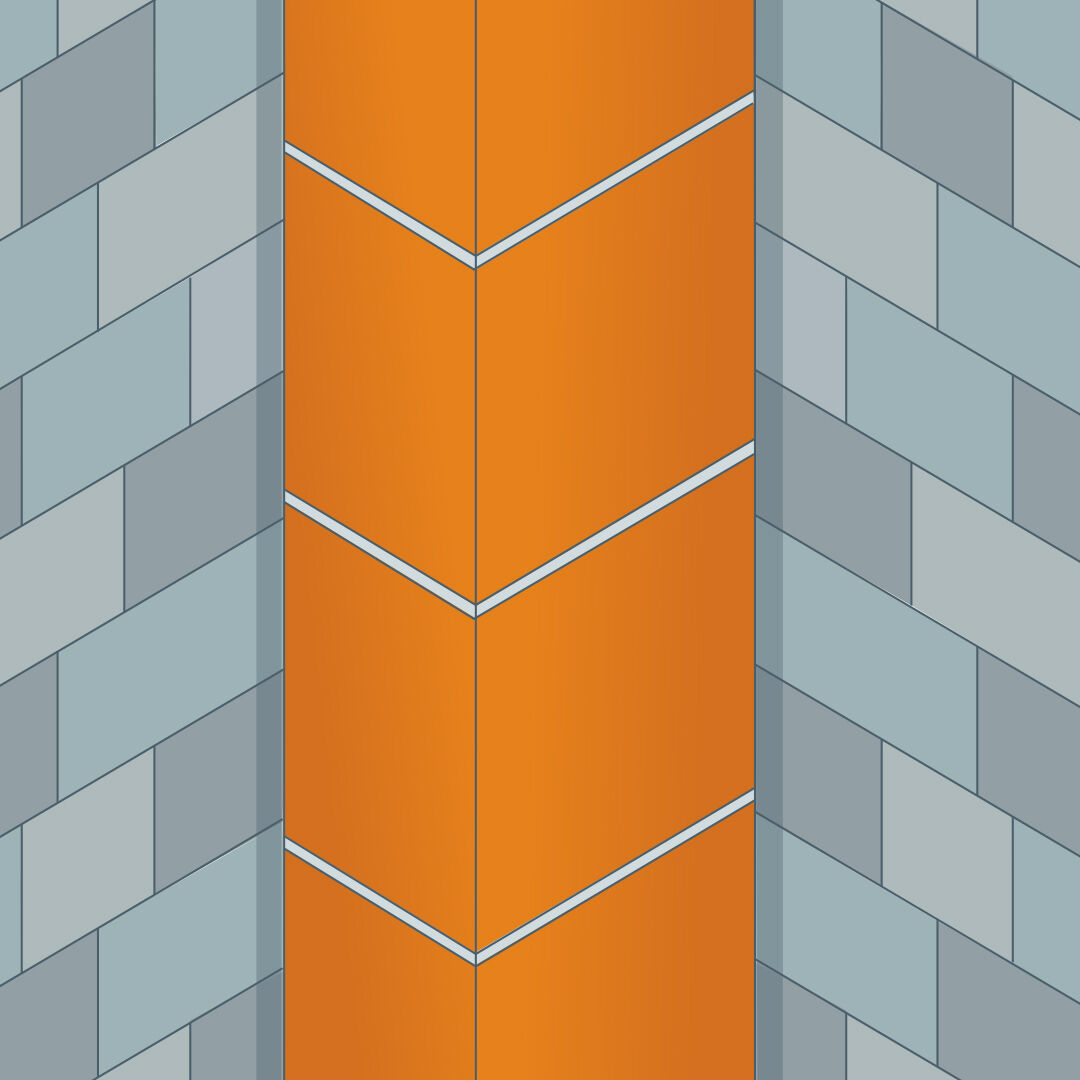
Once you’re on the roof, you’ll need to determine what kind of flue you have. The flue will be a clay or metal tube that extends out from the top of the chimney.
If you have a traditional, masonry-style fireplace, you’re likely working with a clay flue. Newer, factory-built fireplaces typically have metal flues.
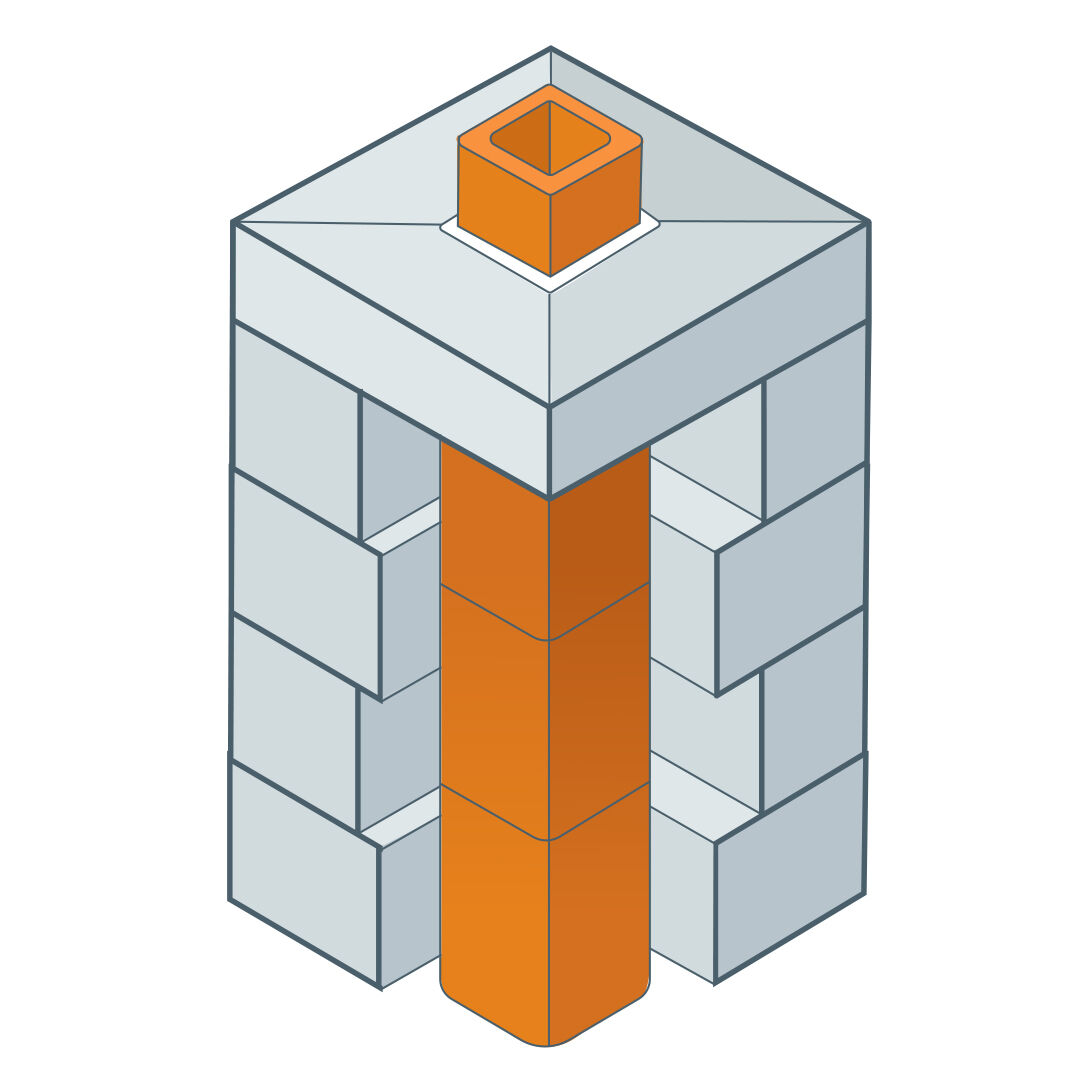
Single-flue chimneys are the most common style and require one cap.
However, if your chimney has more than one flue, you’ll need to decide if you’re going to purchase multiple single-flue caps, or one, large cap that covers the entire area surrounding the flues.
Pro Tip:
Before you start measuring, take note of your flue’s shape. If you have a round flue, you'll measure the diameter instead of length and width.
How to Measure a Single-Flue Chimney
Standard, single-flue chimneys typically require an outside-mounted cap, which fits around the top of the flue —similar to a shoebox lid.
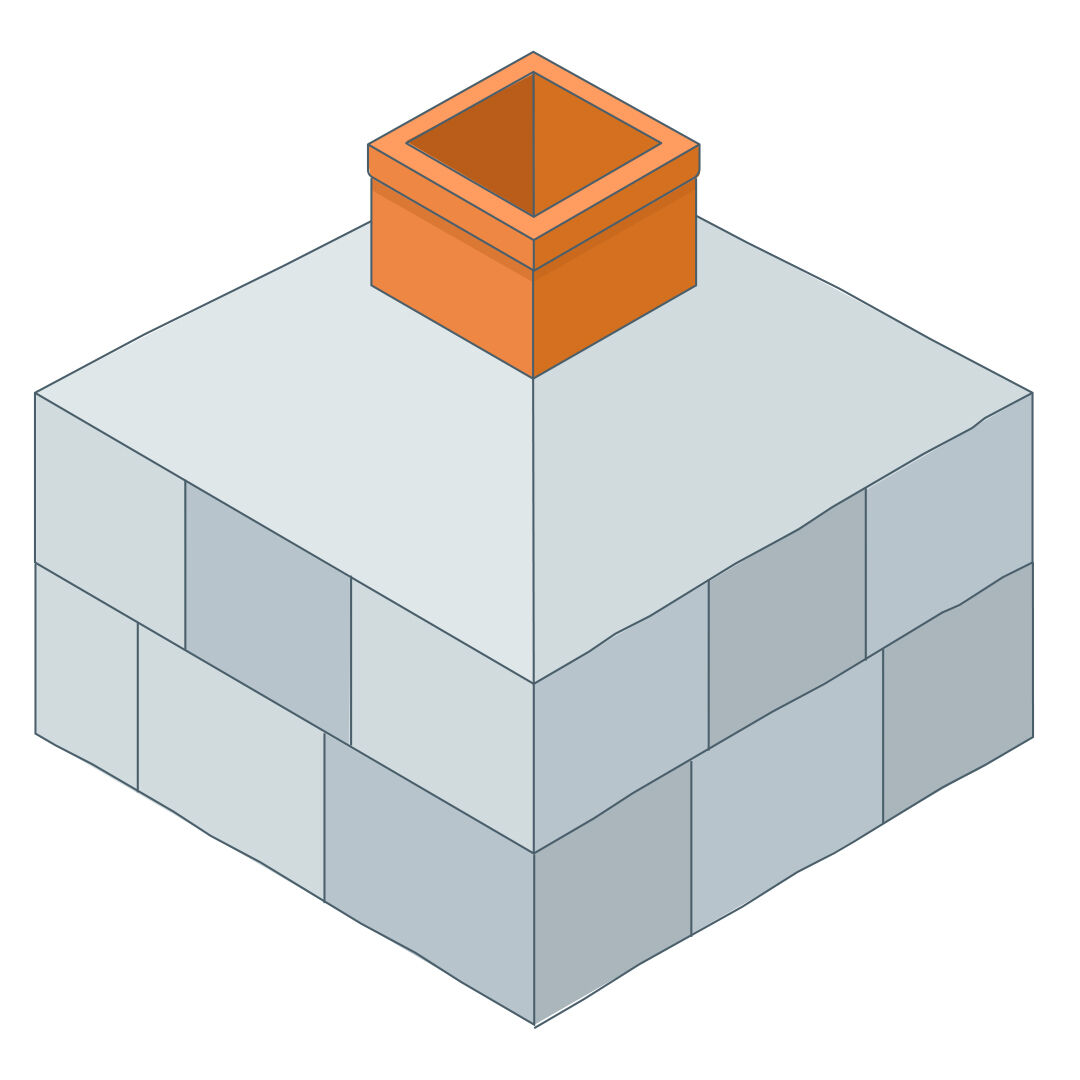
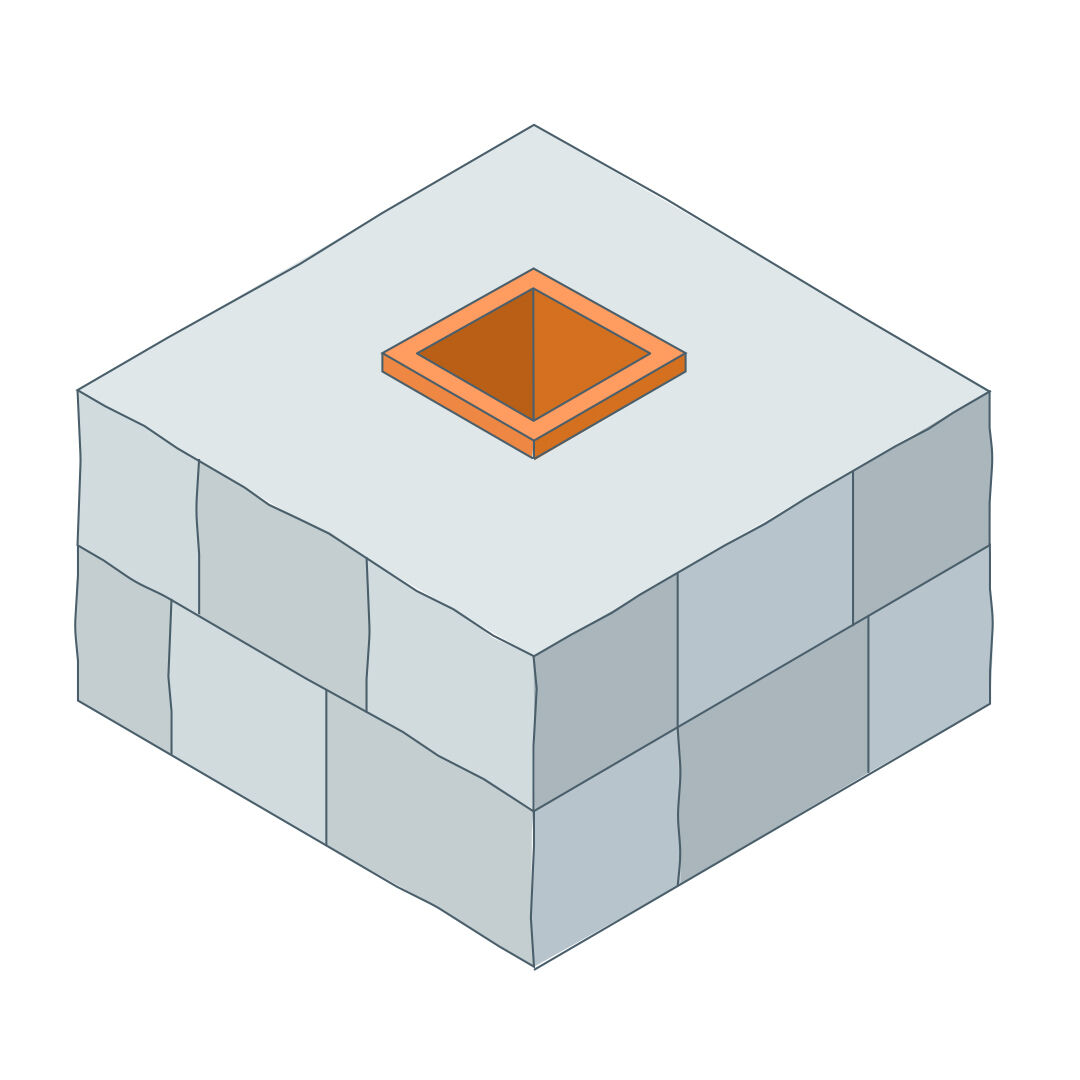
- Determine if your liner is proud, or protruding, from the cement crown, or if it’s flush.
- If your liner is proud, you’ll measure the outside length, width, and height of the liner.
- If your liner is flush with the cement crown, measure the inside length, width, and height of the liner.
How to Install a Single-Flue Chimney Cap
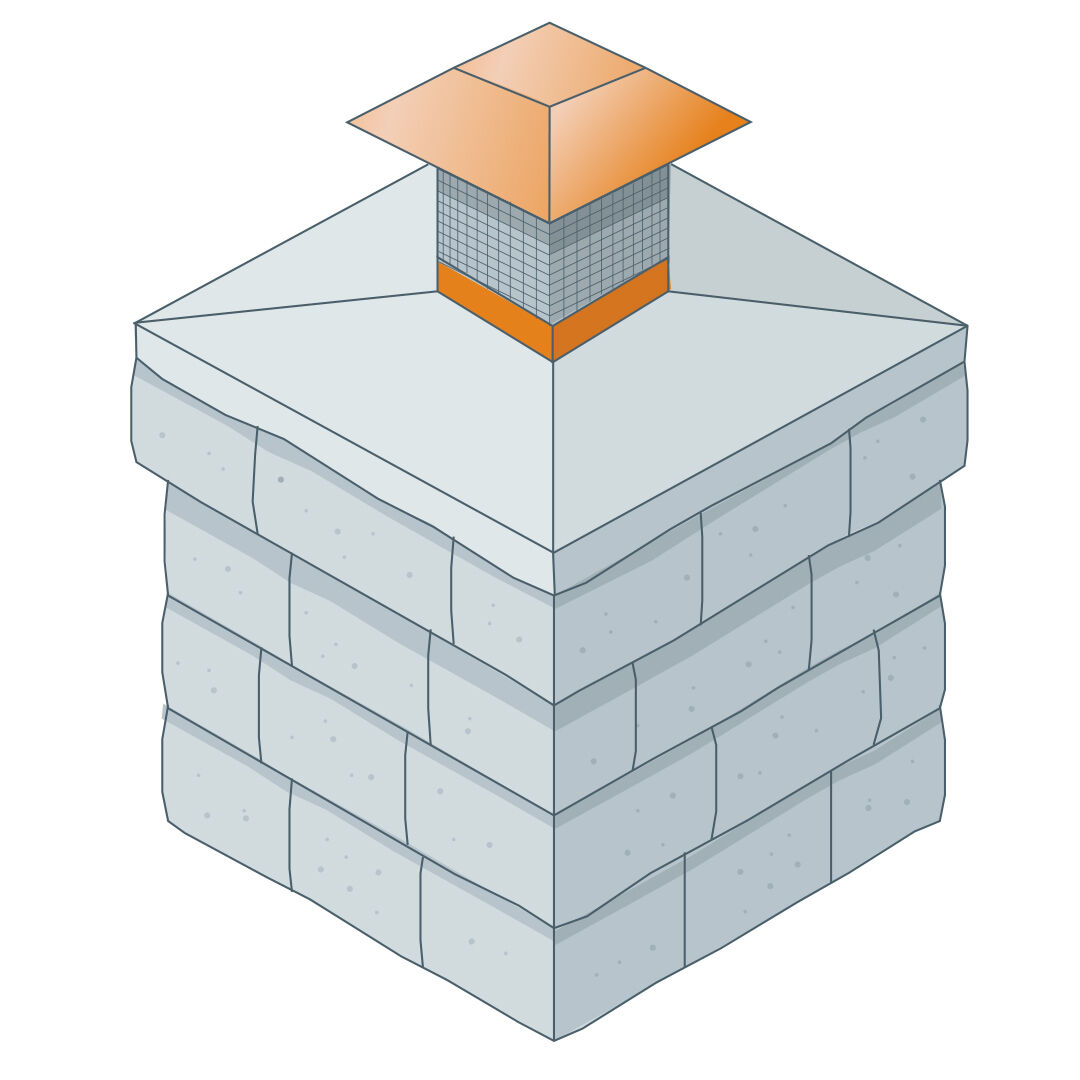
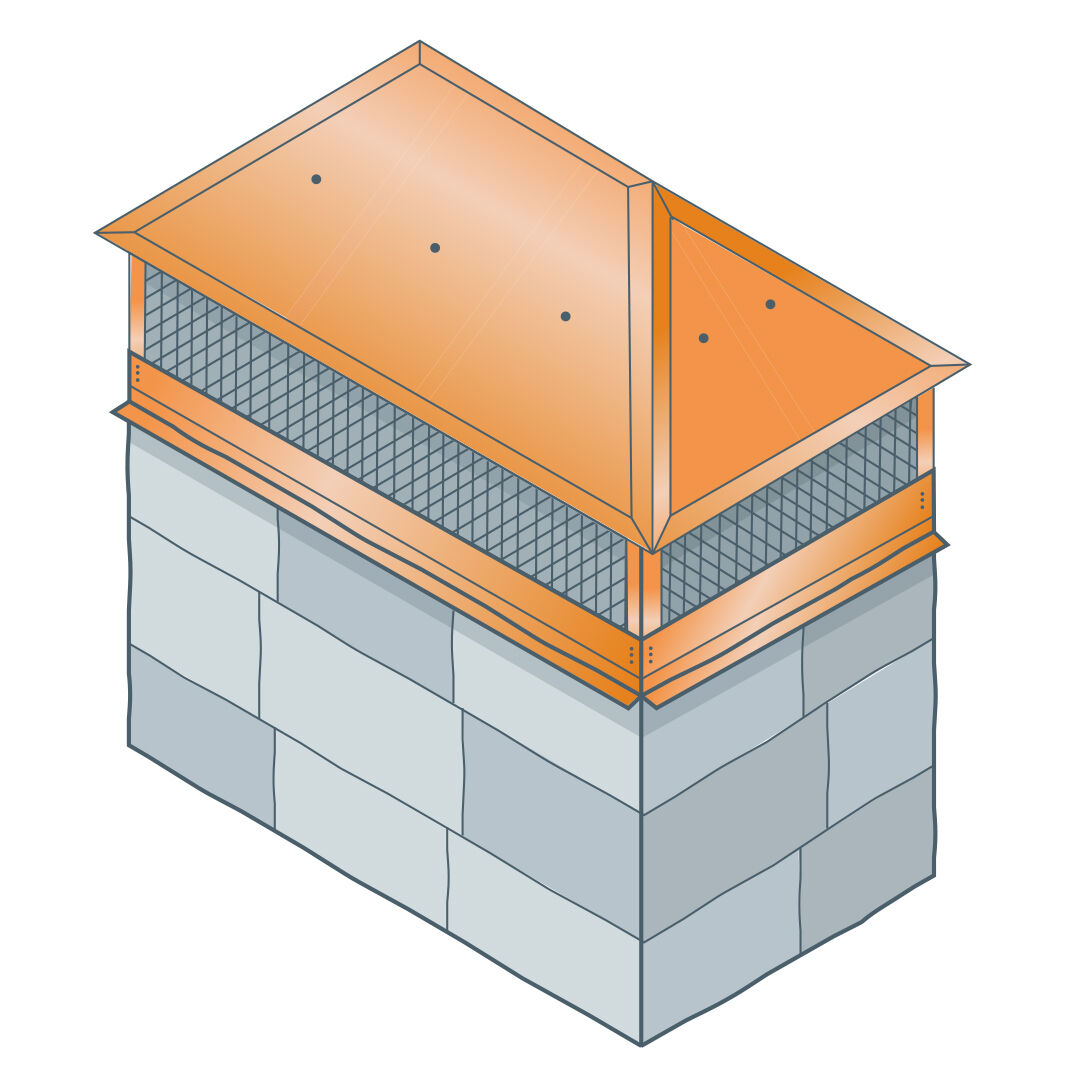
Single-flue caps are relatively easy to mount because they’re designed to be fastened directly onto the chimney liner.
- To securely install your single-flue cap, position it on top of the flue.
- Screw the cap into place by hand turning the included bolts. Once the cap is secure, make an extra quarter-inch turn on each bolt to lock it down.
Pro Tip:
If you don’t have a chimney liner, or if your liner is flush with the cement crown, the chimney cap will be a compression fit.
How to Measure a Multi-Flue Chimney
Chimneys with multiple flues require a top-mounted cap. You’ll need to take five basic measurements to find the right fit.
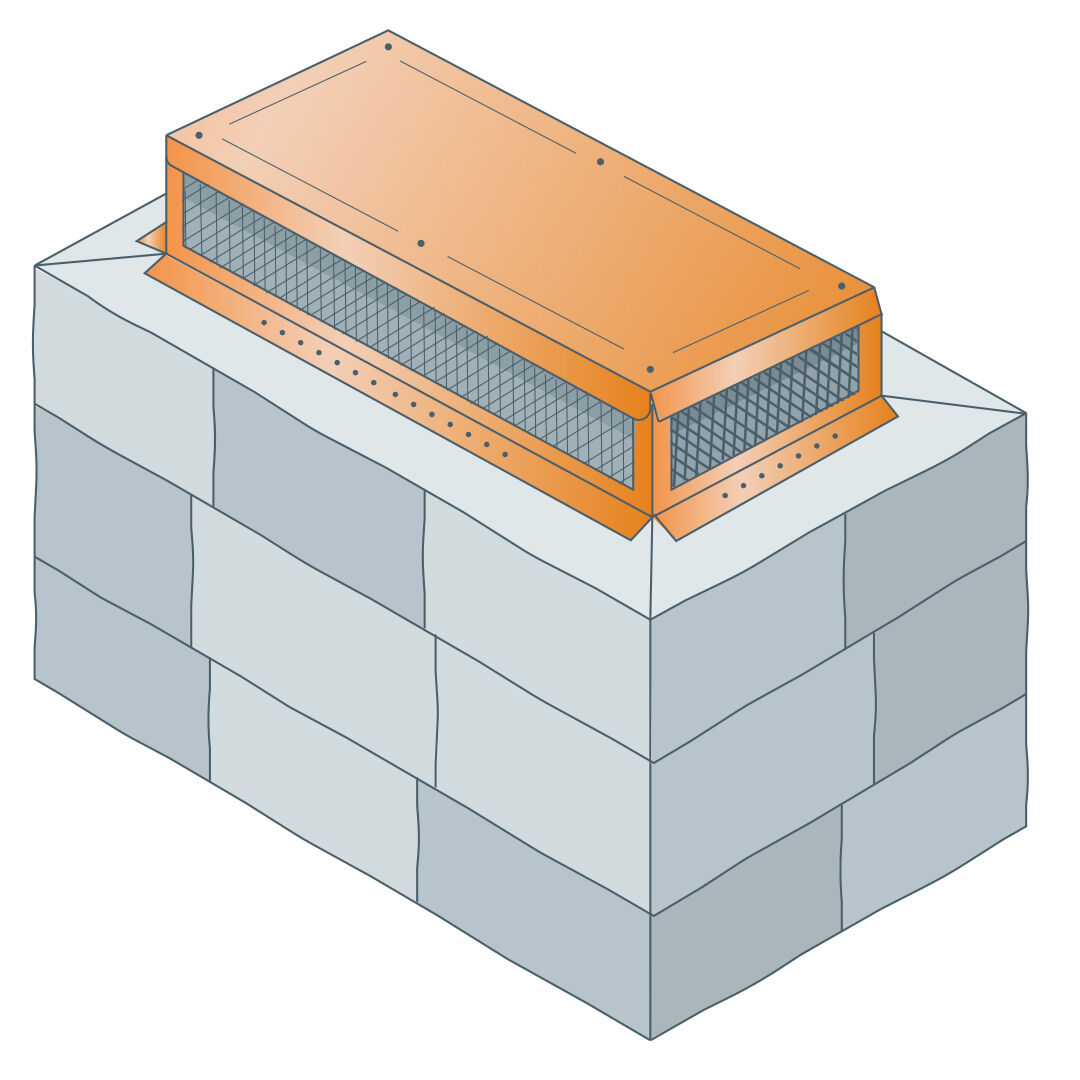
- First, measure the length and width of all the flues together, from the outermost sides.
- Next, measure the width and length of the entire cement crown. To ensure the cap fits properly, make sure it's big enough to cover the area surrounding the flues, but doesn't hang over the sides of your cement crown.
- Finally, measure the height of your tallest flue.
It’s important to note that top-mounted caps have 1½-inch-long flanges along the outside that are fastened to the cement crown.
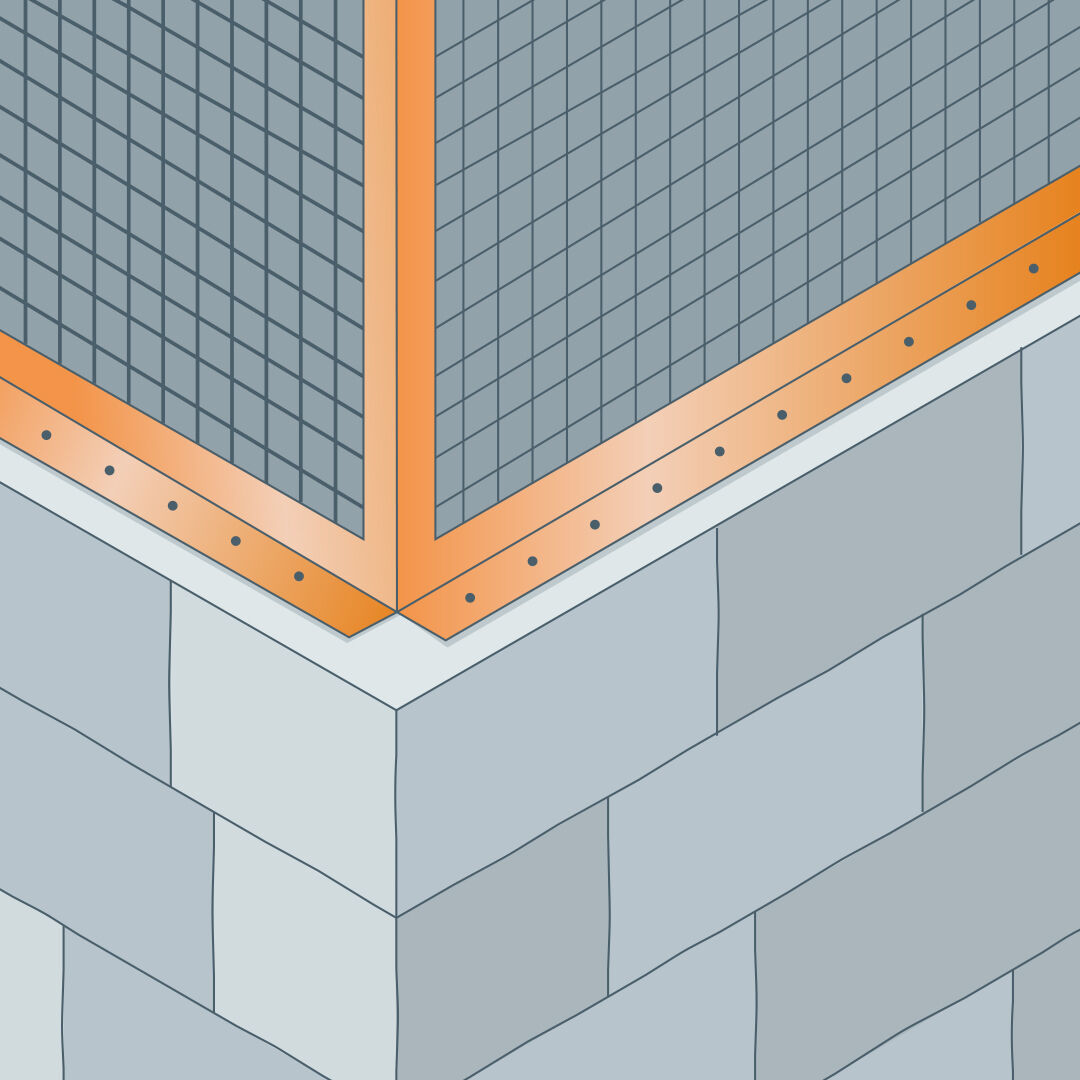
You’ll want to factor the extra length into your total measurements to make sure the chimney cap sits at least 5 inches above your tallest flue.
If you can’t find a pre-manufactured chimney cap in the exact dimensions you need, you’ll need to custom-order one.
Call our team of NFI certified experts at 800.919.1904 for help building your custom cap!
How to Install a Multi-Flue Chimney Cap
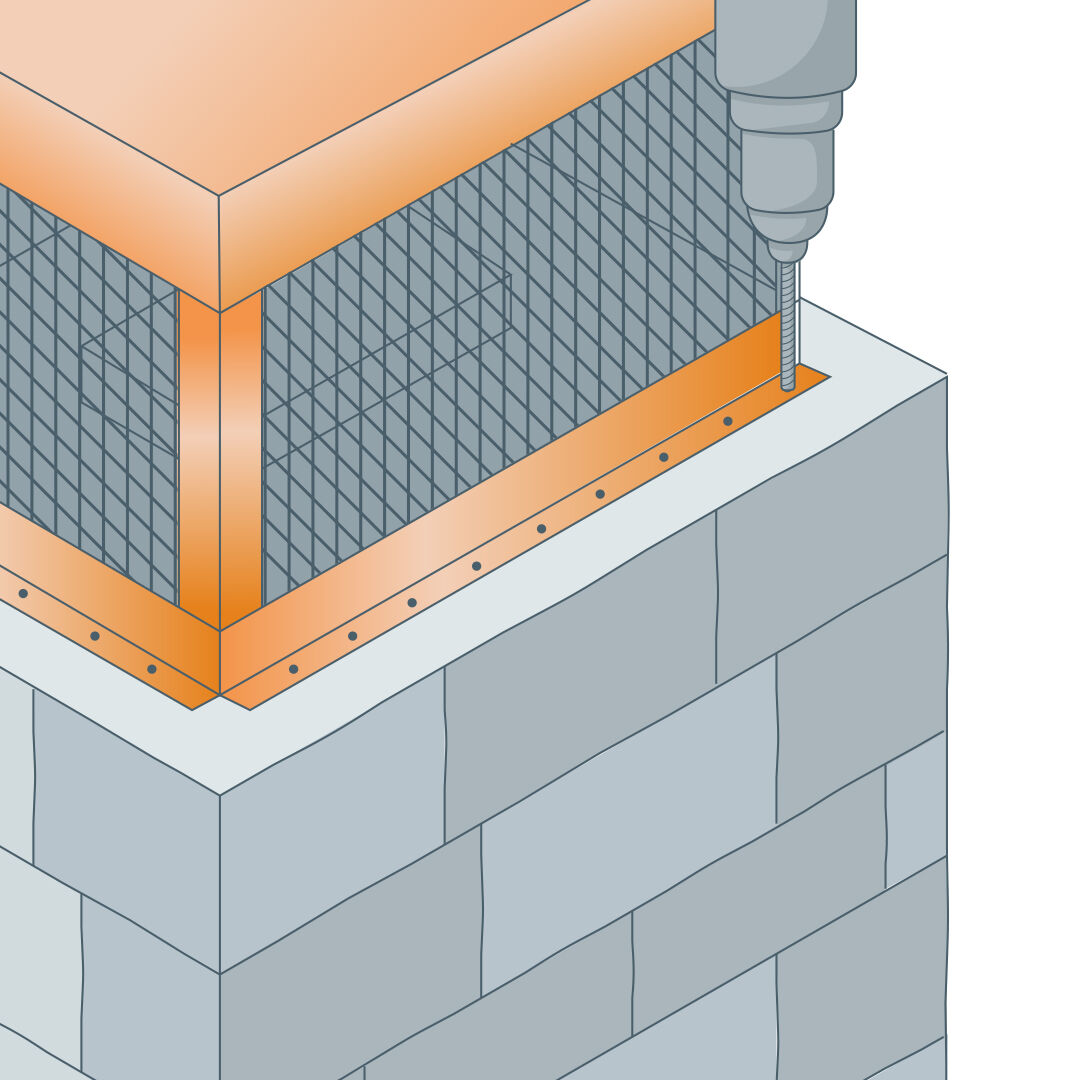
- To install your multi-flue, top-mounted cap, position it on top of the chimney, aligning the edges with the sides of the cement crown until it's centered.
- Find the holes along the bottom flange of the cap, so you know where to drill pilot holes into the crown. It's crucial to drill pilot holes before screwing your cap into place. If you don't, you risk cracking the cement crown.
- Secure the cap in place with the included screws.
Pro Tip:
If you’re looking for maximum protection against weather-related damage, you can choose a large cap that covers the entire top of the chimney. For a more economical solution, you can select a chimney cap that only covers the top of the flues.
Prefer to Listen?
FAQs
Yes, we highly recommend having a chimney cap. Masonry fireplaces can have any kind of cap — even custom-made designs — but Direct Vent gas fireplaces and prefab fireplaces can only use a cap that’s been approved by the manufacturer.
Chimney caps offer notable benefits, including:
- Preventing water damage from stopping rain and snow from entering the chimney flue.
- Keeps out nesting animals and debris that can cause blockages.
- Prevents downdrafts and smoke issues.
- Contains sparks to reduce fire risks.
- Helps maintain a proper draft and fireplace efficiency.
Some of the best outdoor materials to use for chimney caps are:
- Stainless steel
- Copper
- Galvanized steel
- Kynar-coated steel
- Powder-coated or painted steel
- Aluminum
Check out this article for an in-depth look at all of these materials.
Some single-flue caps can be DIY-installed with basic tools if you’re comfortable on the roof. However, most homeowners hire pros because it’s much safer and ensures a proper fit and sealing — especially for more complicated installations, like multi-flue caps.
It depends on what your chimney cap is made of and the weather conditions in your area. For example, some materials, like stainless steel, will last a lot longer in corrosive regions than galvanized steel.
Common chimney cap issues to look for are:
- Rust/corrosion or holes
- Water entering the firebox
- Smoke backing up into the house
- Animals or debris inside the chimney
No, chimney caps and shrouds are different components. Caps are strictly functional — preventing damage and blockages. Shrouds are decorative — covering the entire top of your chimney to enhance your home’s curb appeal.
Both can be used together for maximum protection and aesthetics. Learn more about both caps and shrouds in this guide.
We're Here to Help
If you have any questions about how to measure for or install a new chimney cap, we’d love to help! Call our team of NFI certified experts today at 800.919.1904.
More Resources
You may be familiar with the look and feel of a traditional masonry fireplace, but do you know how it works? Learn about the essential components and how they function.
Still have some questions about your chimney liner? We’ve provided answers to some of the most frequently asked questions.
Spring cleaning doesn’t stop with cupboards and closets. Here are five good reasons to give your chimney a clean sweep once the weather warms up!
 |
Thomas Regis has been a Technical Sales Representative at Woodland Direct for four years. An NFI-Certified expert, Thomas effortlessly directs his clients toward the perfect products, offering essential installation and safety advice. He's tackled projects of all sizes, from backyard fire pits to custom indoor fireplaces. He has even helped Amy Adams, owner of the Tennessee Titans, find a new fireplace for her home! Beyond his professional achievements, Thomas actively participates in community service projects and enjoys spending time on the basketball court. Call him or one of our experts in fire at 800.919.1904. |

