Last Updated: April 7, 2023
It’s tough to beat the classic, cozy atmosphere created by a traditional wood burning fire pit. Available in a variety of sizes, designs, and materials, wood burning fire pits instantly elevate every outdoor occasion, from brisk fall evenings on the patio to laid-back summertime gatherings with family and friends.
Whether you buy a wood burning fire pit or build one yourself, you’ll need to clean and inspect it regularly to guarantee safe, efficient fires for as long as possible. We recommend deep cleaning your wood fire pit at least once a year in the spring, prior to your outdoor gatherings. If you use your wood fire pit year-round, it’s best to clean it out every six months.
Here are four simple steps you can follow at home to keep your wood burning fire pit in perfect working condition.
BEFORE YOU GET STARTED
Before you start cleaning your wood burning fire pit, you'll need to keep a few tools handy to make the maintenance process easier.
To clean your wood fire pit, you’ll need:

Heavy-duty work gloves to protect your hands

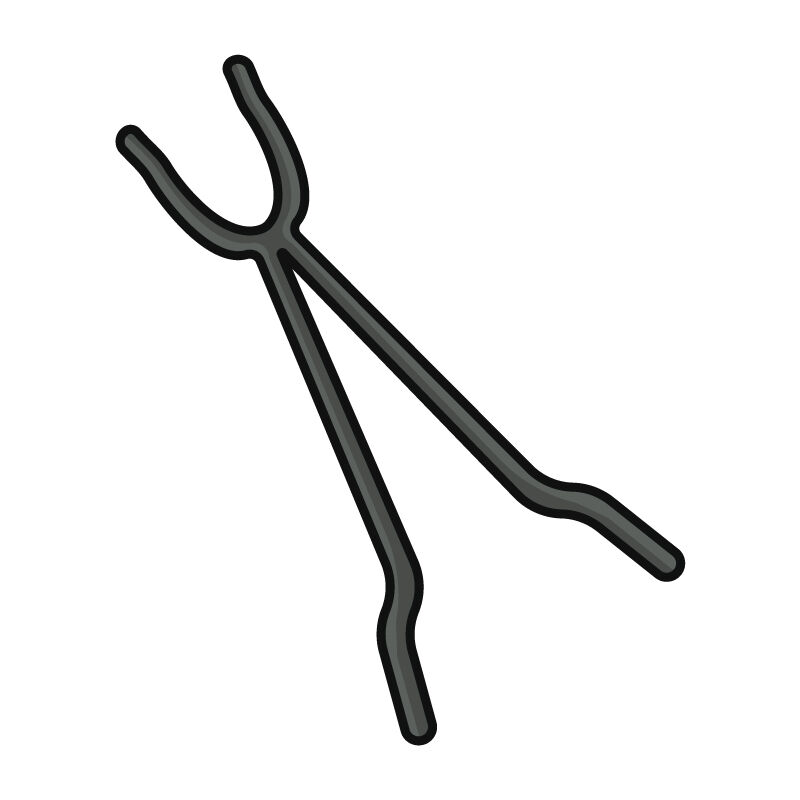
A pair of tongs to help you rearrange your logs

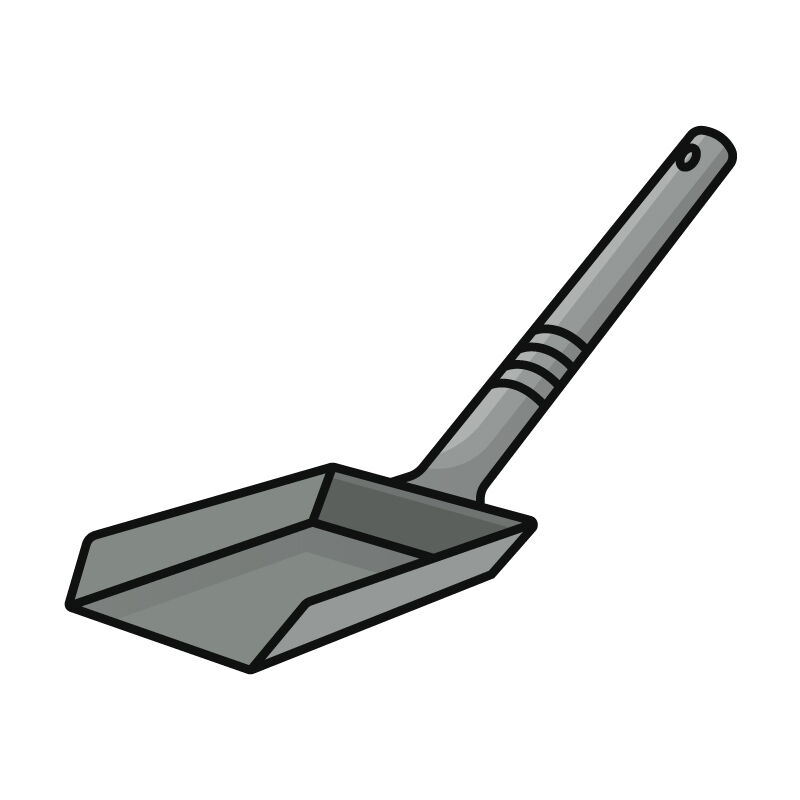
An ash scoop

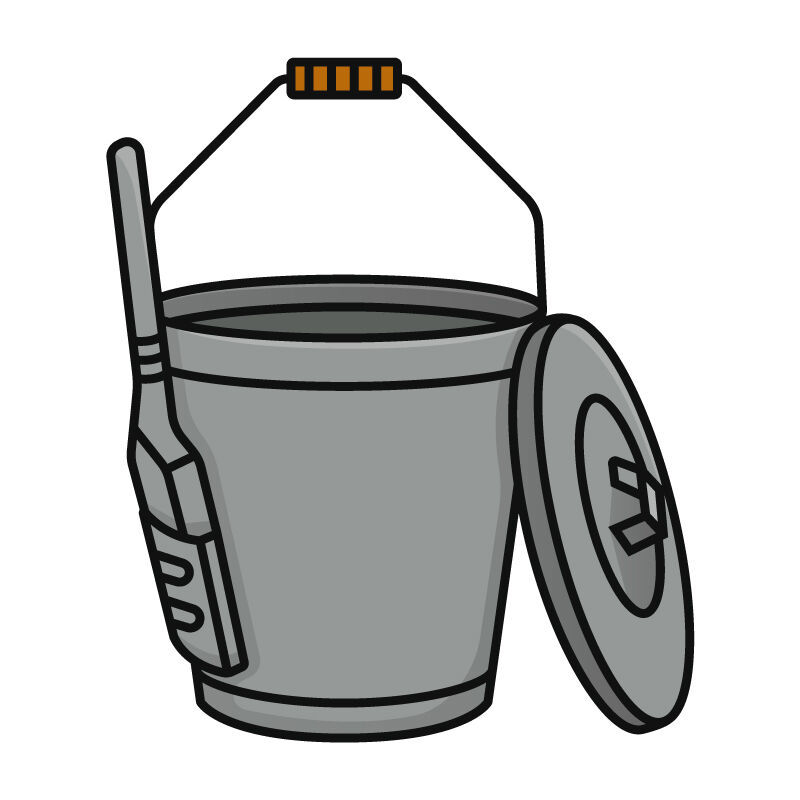
A fire-resistant metal bucket
Pro Tip:
We also recommend purchasing a protective spark screen for your wood fire pit, if it doesn’t come with one already. A screen prevents stray sparks from floating out of your fire pit and landing on your patio furniture and surrounding outdoor décor. It also keeps children and pets at a safe distance from the open flames.
STEP 1: CLEAN THE INTERIOR OF YOUR WOOD FIRE PIT
The aroma of crackling logs is one of the biggest appeals of wood burning fire pits. However, it’s important to scoop out the leftover ashes and debris regularly. If left unchecked, your fire pit will overfill and won’t create the large, cozy flames you’re looking for.
Wait at least 24 hours after using your wood fire pit to start cleaning it out. This will give the ashes and debris enough time to cool completely before handling them.
Put on your heavy-duty work gloves to protect your hands from cuts and slivers, then remove any large chunks of wood that are leftover.
Use a small hand shovel to scoop out old ashes, twigs, leaves, and debris, and place them into a fire-resistant metal bucket. Let them sit in your metal bucket for at least three days to ensure they’ve cooled completely before discarding.

If you have a small shop vacuum, you can use it to suck up any remaining particles inside your fire pit.
Pro Tip:
You can dispose of the ashes in the trash or sprinkle them in your garden. Ashes from your wood fire pit add trace minerals to the soil, like calcium and potassium, which helps your plants thrive and prevents snails from infiltrating your garden.
STEP 2: CLEAN THE EXTERIOR OF YOUR WOOD FIRE PIT
It’s important to identify what kind of material your wood burning fire pit is made of, so you can execute the correct cleaning method without damaging the finish.
Steel and Metal Fire Pits
Steel and metal fire pits are easy to clean and won’t require any special chemical solutions.
Fill a large bucket with water and add a few drops of dish detergent. Use this mixture and a soft rag to wipe down the exterior of your fire pit, and rinse it off with clean water.
Copper fire pits naturally develop a blue/green patina over time, especially if you live in an area with inclement weather conditions. While some homeowners love the aged look of a patina, others prefer a clean, gleaming copper finish.
There are chemical cleaners available that remove tarnish, soot, and patina, or you can also prepare a natural cleaning solution at home.
To remove the patina from your copper fire pit, combine 1 cup of salt and 1 gallon of vinegar. Dampen a clean cloth in the solution and vigorously scrub the exterior of your fire pit.

Stone and Masonry Fire Pits
If you have a stationary stone or brick fire pit, a simple solution made with muriatic acid and water can help brighten the surface and remove soot or stains.
It’s crucial to wear protective gloves, long pants, long sleeves, and safety goggles when working with muriatic acid. If you’re exposed to muriatic acid without proper protection, it can burn your skin and may also cause blindness. Be sure to work in a well-ventilated area, rather than a garage or shed, to avoid inhaling any toxic fumes.
In a large bucket, slowly pour 1-part muriatic acid into 9-parts water. Make sure you add the water before the acid to prevent a chemical reaction.
Use a stiff-bristled brush and your acid mixture to scour the exterior of your fire pit, and rinse it off with clean water. Repeat scrubbing and rinsing until all the soot and stains are removed.
Once your fire pit is clean, let it dry thoroughly for two to three days before using it again.
Pro Tip:
Once your fire pit is completely dry, we also recommend applying a layer of stone or concrete sealant to make the cleaning process even easier in the future.
Cast Iron Fire Pits
Cast iron wood burning fire pits are bit more time-consuming to clean than steel or metal models because they naturally develop a top layer of rust.
To remove the rust from your cast iron fire pit, gently scrub the exterior with a steel wool pad. Rinse your fire pit off with clean water, then dry it with a soft rag.
STEP 3: ONLY BURN SEASONED WOOD IN YOUR FIRE PIT
Make sure the wood you're burning in your fire pit is seasoned, meaning it’s been cut down and dried out. Wood that is too green or damp won't create the large flames you're looking for and creates more creosote, which can damage the finish on your fire pit.

To determine if a piece of wood is too green to burn safely, gently knock it against another log. If it makes a dull thud instead of a sharp crack, the wood isn’t seasoned and shouldn’t be used in your fire pit.
You can also use a moisture meter to confirm that your logs are seasoned. Wood is considered dry enough to burn safely when the moisture content falls between 17 and 20 percent.
Hardwoods that are properly seasoned, like oak, maple, and birch, produce more heat, burn longer, and won't produce as much creosote as softwoods, such as cedar and pine.
Pro Tip:
Generally, wood logs should be dried for 6-12 months before they're safe to burn in a fire pit. Split your logs into smaller pieces to dry them out faster.
STEP 4: KEEP YOUR FIRE PIT COVERED
One of the easiest and most effective ways to ensure your wood burning fire pit stays in tip-top condition is by purchasing a fitted, weatherproof fire pit cover.

Covering your fire pit when you aren’t using it keeps garbage, debris, curious critters, rain, and snow from accumulating inside. It also prevents harsh elements from corroding the finish and makes the maintenance process much easier when you’re ready to use your fire pit again.
DOWNLOAD YOUR WOOD FIRE PIT MAINTENANCE GUIDE
To help you maintain your wood burning fire pit at home, we've created a printable e-book you can download and reference in between inspections!
WE’RE HERE TO HELP
Have more questions about how to care for your wood burning fire pit? We'd love to help! Call our team of NFI certified experts today at 800.919.1904.
MORE RESOURCES:
Our top five wood burning fire pits boast one-of-a-kind designs, easy assembly, and a lifetime of relaxation.
Discover the main parts of a wood burning fire pit, plus essential accessories available to enhance your experience.
Looking to build your own fire pit? Compare the benefits of wood and gas models to choose the best style for your space!

